Documentation
Getting Started
Everything you need to stand up a new Catalyst Engine workspace: create your account, add your first location, and bring your team on board.
Create your workspace
Go to catalystengine.com/register and fill in the sign-up form. Creating an account also creates your organization's workspace in the same step — you don't need a separate "create org" flow.
- 1Enter your Organization name.
- 2Enter your First name and Last name.
- 3Enter your Email and choose a Password.
- 4Click Create workspace.
You're signed in as that organization's first user, with the Organization Admin role — the only role that can manage org-wide settings.
Note
Add your first location
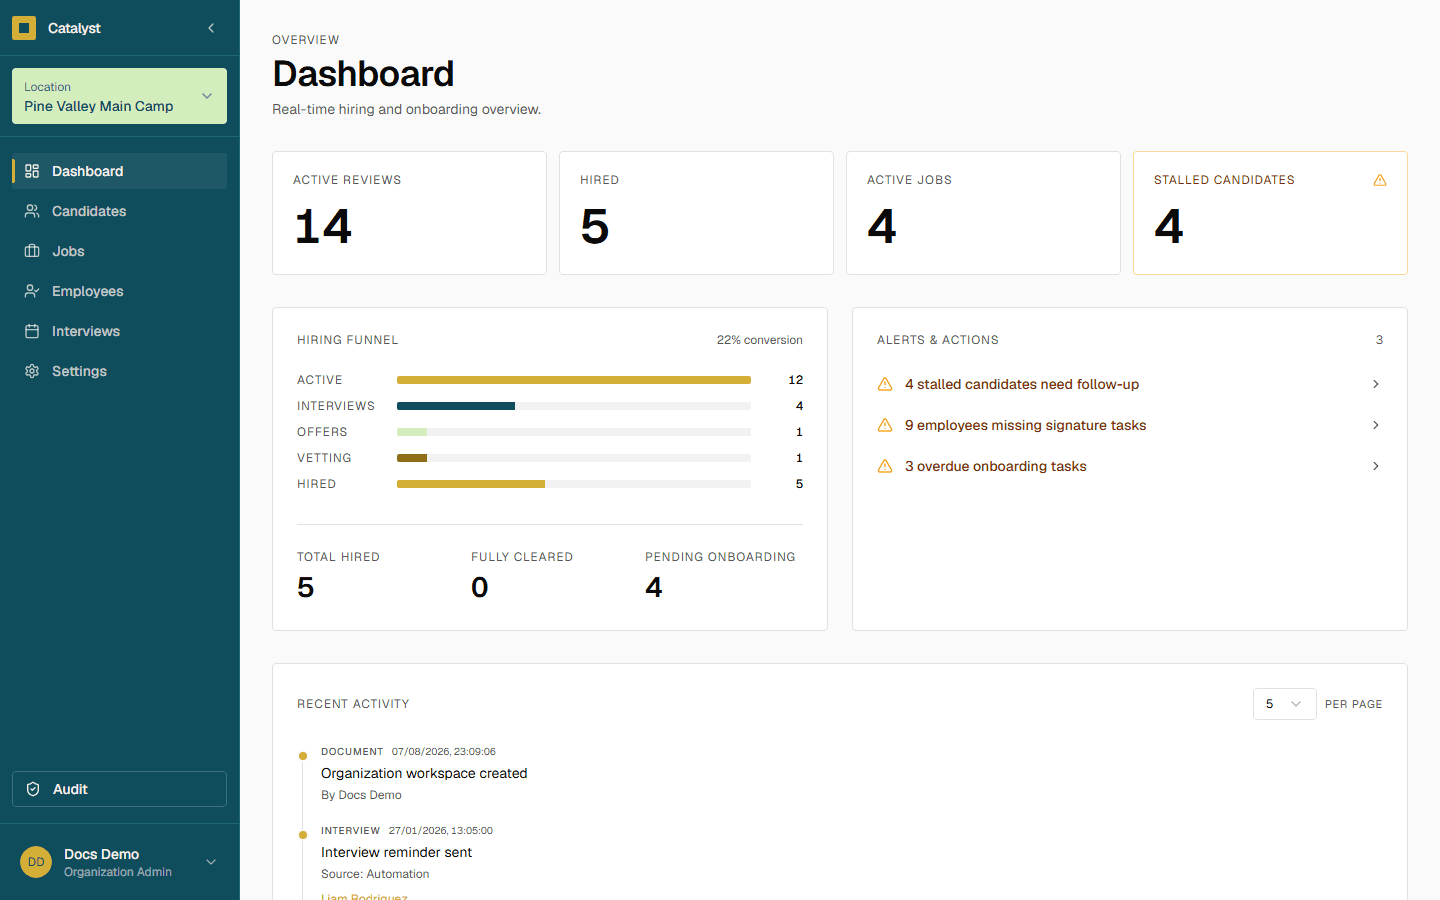
Every job, candidate, and employee in Catalyst Engine belongs to a location. Open the location switcher at the top of the sidebar and choose Create New Location.
- 1Click the Location dropdown at the top of the sidebar.
- 2Choose Create New Location.
- 3Enter a Location Name, City, and State.
- 4Click Create Location.
Invite your team
Go to Settings → Organization and find the Team access card.
- 1Click Add user.
- 2Enter their First Name, Last Name, and Email.
- 3Choose a Role: Organization Admin, Operations Admin, Hiring Manager, or Viewer.
- 4Pick which locations they can access.
- 5Click Create and invite.
They'll receive an invite email. Until they accept it, their row shows an Invite pending badge with a Resend invite button.
Tip